
-
Golden Bay Sport Climbs
Vendor:Kiwi Tracks and GuidesRegular price $69.99 NZDRegular priceUnit price per -
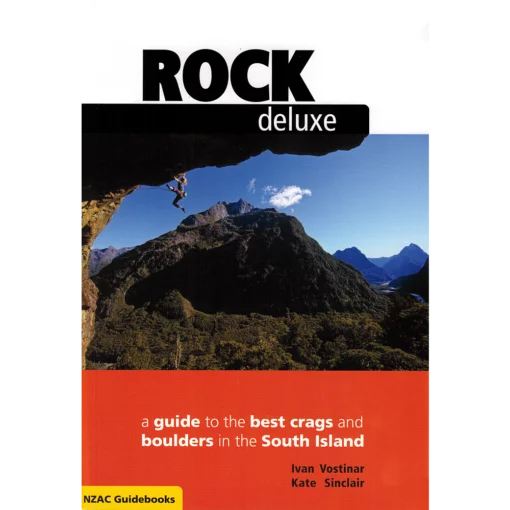
Rock Deluxe South Climbing Book
Vendor:NZACRegular price $65.00 NZDRegular priceUnit price per -
 Sold out
Mount Owen Rock Climbs
Vendor:Kiwi Tracks and GuidesRegular price $50.00 NZDRegular priceUnit price per -
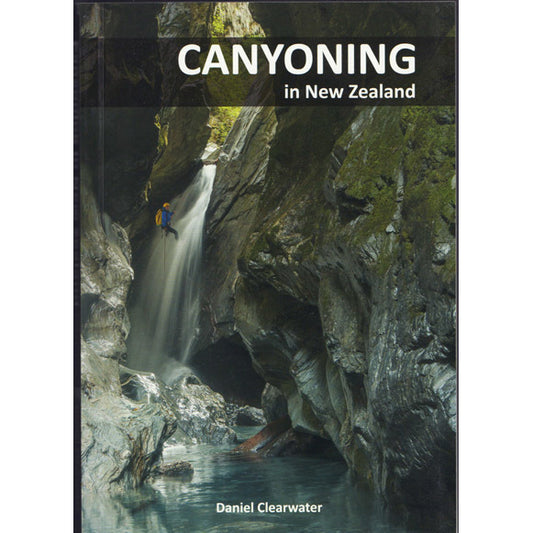
Canyoning in New Zealand
Vendor:KiwicanyonsRegular price $79.99 NZDRegular priceUnit price per -
Northbound Book by Naomi Arnold
Vendor:MD OutdoorsRegular price $39.99 NZDRegular priceUnit price per -
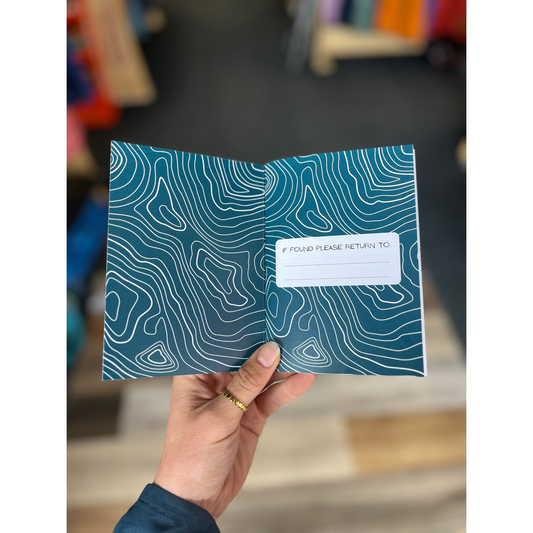
The Adventurer's Journal
Vendor:MD OutdoorsRegular price $16.99 NZDRegular priceUnit price per -
The High Pathways – A Guide to Te Waipounamu’s Mountains
Vendor:NZACRegular price $67.50 NZDRegular priceUnit price per -
The Dirtbags Guide To Life - Tim Mathis
Vendor:NZACRegular price $25.00 NZDRegular priceUnit price per -
What Happen's If You Keep Going - Tim Mathis
Vendor:NZACRegular price $25.00 NZDRegular priceUnit price per